How to Repair a Damaged Handbag_ DIY Tips and Tricks
Learn how to repair a damaged handbag with DIY tips and tricks. Fix minor tears, scratches, and stains.

Understanding Common Handbag Damage and DIY Repair Potential
Okay, so your favorite handbag has seen better days. Maybe it's a scratch on the leather, a tear in the lining, or a stubborn stain that just won't budge. Before you resign yourself to buying a new one, let's explore the world of DIY handbag repair! Not all damage is created equal. Some issues are easily fixable at home with a few basic supplies and a little patience. Others might require professional attention. We're focusing on the DIY-able stuff here – the scratches, small tears, loose stitching, and stains that you can tackle yourself.
Essential Tools and Supplies for Handbag Repair
Before you dive in, gather your supplies. Having the right tools makes all the difference. Here's a list to get you started:
- Leather cleaner and conditioner: Crucial for leather bags.
- Fabric cleaner: For non-leather bags.
- Saddle soap: Another leather cleaning option.
- Leather glue: Specifically designed for leather repair.
- Fabric glue: For fabric tears and lining repairs.
- Needle and thread: Choose thread that matches your bag's color. Heavy-duty thread is best.
- Seam ripper: For carefully removing old stitches.
- Scissors: Sharp scissors for trimming threads and fabric.
- Soft cloths: Microfiber cloths are ideal for cleaning.
- Cotton swabs: For precise application of cleaners and glues.
- Leather dye or marker: For covering up scratches.
- Zipper lubricant: For sticky zippers.
- Pliers: For working with hardware.
- Iron (low setting): For pressing fabric.
- Cutting mat: Protect your work surface.
DIY Repairing Leather Handbag Scratches and Scuffs
Those pesky scratches! Here's how to minimize their appearance:
- Clean the area: Use a leather cleaner to remove dirt and grime.
- Apply leather conditioner: This helps to moisturize the leather and blend the scratch.
- Use a leather dye or marker: Choose a color that closely matches your bag. Apply sparingly and blend it in. Test in an inconspicuous area first!
- Buff the area: Use a soft cloth to buff the area and blend the dye.
Product Recommendation: Fiebing's Leather Dye
Description: A highly pigmented leather dye perfect for covering scratches and restoring color to faded leather. Available in a wide range of colors.
Usage Scenario: Ideal for scratches on leather handbags, wallets, and shoes.
Comparison: Offers better coverage than leather markers but requires more careful application.
Price: Approximately $10 - $15 per bottle.
Mending Tears and Rips in Handbag Fabric
A tear doesn't have to mean the end of your bag. Here's how to fix it:
- Clean the area: Remove any loose threads or debris.
- Apply fabric glue: Carefully apply a thin layer of fabric glue to both edges of the tear.
- Press the edges together: Hold the edges together until the glue dries. You can use clamps or weights to hold them in place.
- Reinforce with stitching (optional): For extra durability, you can stitch the tear closed with a needle and thread.
- Iron (low setting): Cover the mended area with a cloth and gently iron to set the glue.
Product Recommendation: Aleene's Fabric Fusion Permanent Fabric Adhesive
Description: A strong and permanent fabric adhesive that bonds quickly and dries clear.
Usage Scenario: Perfect for repairing tears in handbag linings, straps, and other fabric components.
Comparison: Stronger than many other fabric glues, but may not be suitable for very delicate fabrics.
Price: Approximately $5 - $8 per bottle.
Fixing Loose Stitching on Handbags
Loose stitching can make your bag look worn. Here's how to tighten it up:
- Thread your needle: Use a thread that matches the color of the existing stitching.
- Find the loose stitch: Carefully examine the area to find the point where the stitching has come undone.
- Stitch it back together: Follow the existing stitch pattern, making sure to secure the thread at both ends.
- Tie a knot: Tie a secure knot on the inside of the bag and trim the excess thread.
Removing Stains from Handbags: A Comprehensive Guide
Stains happen! But don't panic. Here's how to tackle some common culprits:
- Ink stains: Try rubbing alcohol on a cotton swab. Blot, don't rub.
- Grease stains: Sprinkle baking soda on the stain and let it sit for a few hours. Then, vacuum it up.
- Water stains: Gently blot the area with a damp cloth. Avoid over-wetting the leather.
- Food stains: Try a mild dish soap solution. Blot the stain with a clean cloth.
Product Recommendation: Chamberlain's Leather Milk Leather Cleaner
Description: A gentle and effective leather cleaner that removes dirt, grime, and stains without damaging the leather.
Usage Scenario: Suitable for cleaning all types of leather handbags, including delicate and vintage bags.
Comparison: More expensive than some other leather cleaners, but offers superior cleaning and conditioning.
Price: Approximately $20 - $25 per bottle.
Reviving Sticky Zippers on Your Favorite Handbag
A sticky zipper is a major annoyance. Here's how to get it moving again:
- Clean the zipper: Use a small brush or cotton swab to remove any dirt or debris from the zipper teeth.
- Apply zipper lubricant: Use a zipper lubricant or wax to lubricate the zipper teeth.
- Gently move the zipper: Slowly move the zipper up and down to distribute the lubricant.
Product Recommendation: Zipper Ease Zipper Lubricant
Description: A convenient and effective zipper lubricant that helps zippers slide smoothly.
Usage Scenario: Ideal for lubricating zippers on handbags, clothing, and luggage.
Comparison: Easier to apply than wax-based lubricants.
Price: Approximately $8 - $12 per tube.
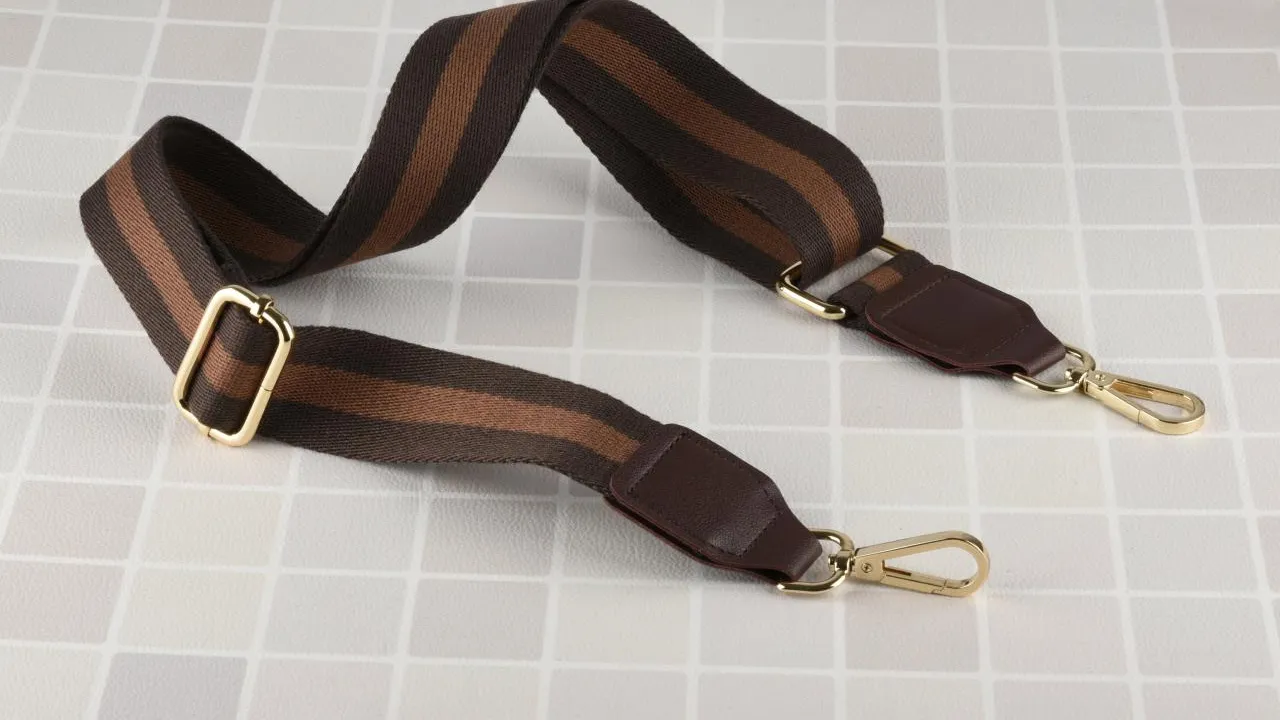
Replacing Handbag Hardware: Clasps, Buckles, and More
Sometimes, hardware breaks. Replacing it can give your bag a new lease on life:
- Find a replacement: Search online or at a craft store for a replacement that matches the original.
- Remove the old hardware: Use pliers or a screwdriver to remove the broken hardware.
- Attach the new hardware: Attach the new hardware using the same method as the original.
Important Note: For more complex repairs, or if you're unsure about any of these steps, it's always best to consult a professional handbag repair service. They have the expertise and tools to handle more delicate repairs and ensure your bag is restored to its former glory.
:max_bytes(150000):strip_icc()/277019-baked-pork-chops-with-cream-of-mushroom-soup-DDMFS-beauty-4x3-BG-7505-5762b731cf30447d9cbbbbbf387beafa.jpg)


